
How to Install Countertops on a Kitchen Island: A Guide
How to Install Countertops on a Kitchen Island: An Expert’s Step-by-Step Guide
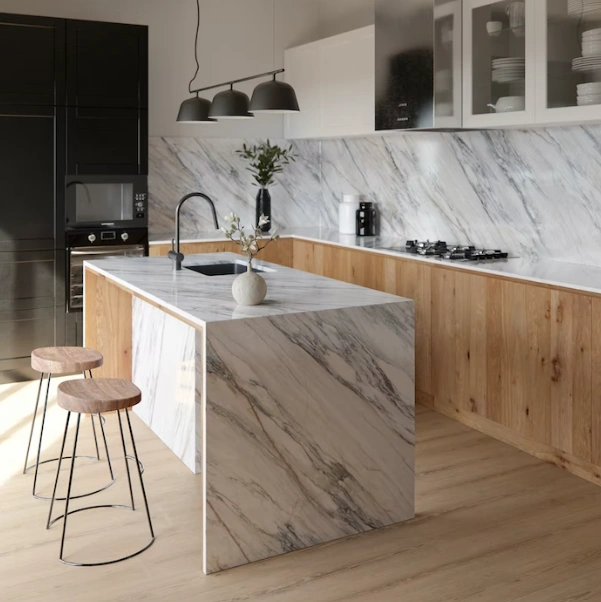
Designing and renovating a kitchen involves numerous critical steps, and one of the most impactful upgrades is installing new countertops on a kitchen island. Proper installation not only enhances the aesthetic appeal of your space but also ensures durability, functionality, and value. At BCG CABINET & STONE LLC, we understand the importance of precision and craftsmanship, which is why we’ve compiled this comprehensive guide on how to install countertops on a kitchen island. Follow these detailed steps to achieve a professional finish and maximize your kitchen’s potential.
What Materials and Tools Are Necessary for Installing a Kitchen Island Countertop?
Before you begin the installation process, gathering the right materials and tools is essential. Here’s a detailed list to ensure you’re fully prepared:
- Countertop material: granite, quartz, marble, or other stone surfaces
- Measuring tape and a calculator
- Clamps and jacks for support and adjustment
- Circular saw or angle grinder with diamond blades suited for stone cutting
- Leveling tools: spirit level and shims
- Adhesives and sealants: high-quality construction adhesive and stone epoxy
- Protective gear: gloves, goggles, and dust masks
- Cleaning supplies: rags, acetone, and stone cleaner
Choosing quality materials and tools can significantly impact the ease of installation and the longevity of your countertop. If you're exploring options for high-end materials, be sure to check out our insights on onyx countertops for luxury interiors.
How Do You Measure and Prepare the Space for a Perfect Fit?
Accurate measurements are the foundation of a successful countertop installation. Follow these meticulous steps:
- Measure the dimensions: Use a tape measure to determine the length and width of your kitchen island top. Measure at multiple points to account for any uneven surfaces.
- Account for overhang: Decide on an overhang (typically 1-1.5 inches) that aligns with your design aesthetic and functionality.
- Check for levelness: Use a spirit level across the surface to identify any high or low spots that need correction.
- Mark your template: Use cardboard or paper to create a template of the countertop's outline. This step ensures precise cutting and can be adjusted before any material is committed.
Proper planning at this stage can prevent costly mistakes. If you wish to explore alternative countertop options, such as budget-friendly materials, visit our guide on Formica countertops for budget-friendly projects.
What Is the Best Method to Cut Your Countertop to Size?
Cutting your countertop material requires precision and safety awareness. Here's how to approach it:
- Set up your cutting area: Work on a stable, flat surface covered with protective sheeting or cardboard to prevent scratches.
- Mark the cut lines: Use a pencil and a straightedge or carpenter's square for accuracy. Double-check measurements before marking.
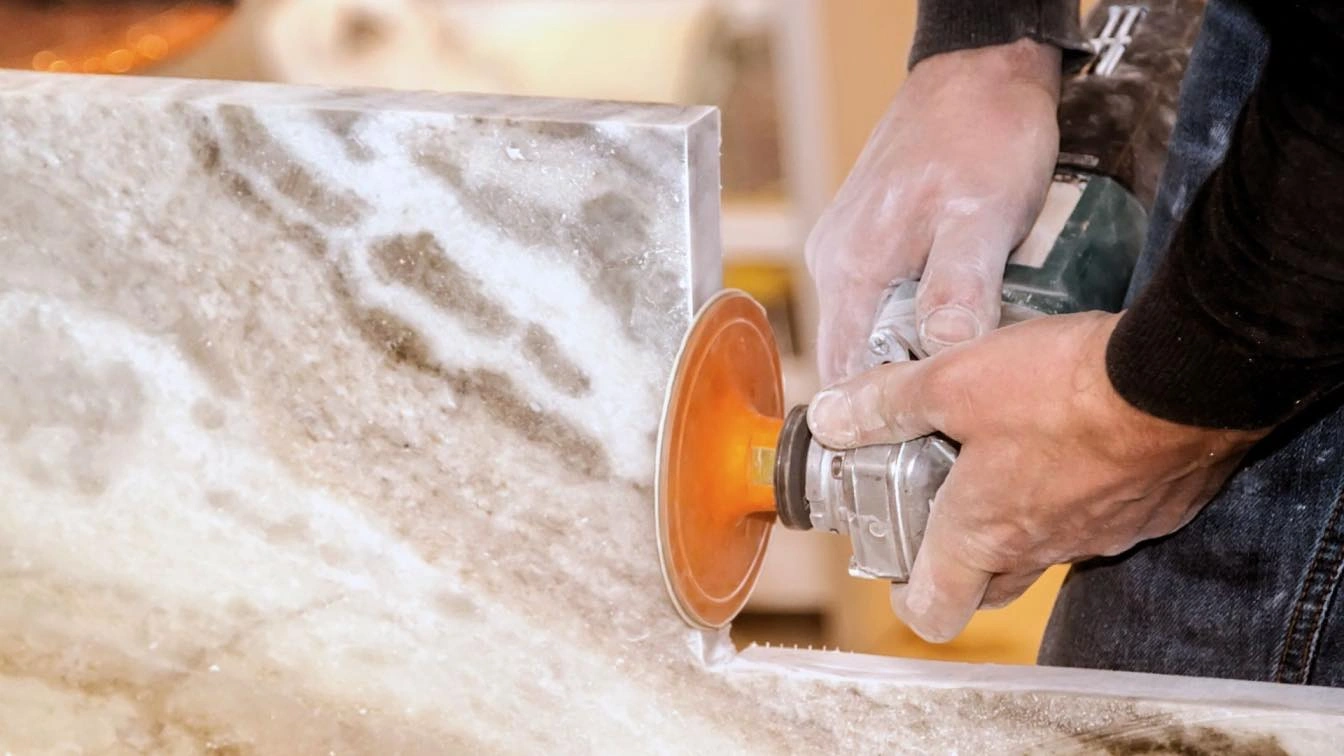
- Use the appropriate saw: For stone surfaces like granite or marble, a diamond blade circular saw or angle grinder is essential. Adjust the blade depth to match the thickness of your material.
- Cut slowly and steadily: Apply consistent pressure and let the saw do the work. Wear protective gear to safeguard against dust and debris.
- Smooth the edges: Use an abrasive pad or polishing tool to eliminate rough edges after cutting.
Precision during cutting minimizes waste and ensures your countertops fit seamlessly. To select the best countertop type for your home, explore our post on showrooms in Denton, Texas.
How Do You Secure and Support the Countertop During Installation?
Proper support and stabilization are vital during the positioning stage:
- Prepare the base: Ensure your cabinetry or framing is level, sturdy, and capable of bearing the weight of the countertop.
- Use support braces: Position temporary supports or jacks under the overhanging edges to prevent sagging or shifting.
- Dry fit the countertop: Place the cut piece on the island to verify fit and alignment before adhesive application.
- Adjust as needed: Use shims or wedges to level the surface before final bonding.
Taking time to support and secure your countertop during this phase prevents mishaps and misalignments. For inspiration on high-end materials, consider our feature on onyx countertops.
What Is the Proper Process for Applying Adhesives and Mounting the Countertop?
Adhesive application is crucial for a seamless, durable installation:
- Clean the surfaces: Remove dust, grease, and debris from both the bottom of the countertop and the supporting surface.
- Apply adhesive: Use a notched trowel to spread a thin, even layer of high-quality construction adhesive on the base surface.
- Position the countertop: Carefully place the piece onto the supports, aligning meticulously with your measurements and template.
- Secure with clamps: Use clamps or weights to hold the countertop in place while the adhesive cures, typically 24-48 hours.
- Seal the seams: Once set, apply epoxy or stone-specific sealant to cover seams for added durability and visual appeal.
Proper sealing technology ensures the longevity of your installation. For unique material options, explore our maintenance tips for olive green granite countertops.
How Can You Finish and Polish Your Countertop for a Premium Look?
Finishing touches elevate the visual appeal of your kitchen island:
- Polishing edges: Use a polishing pad or stone grinder to smooth and shine the edges, enhancing the overall look.
- Sealing the surface: Apply a penetrating sealer designed for your material to protect against stains and etching.
- Cleaning: Regularly clean with appropriate stone cleaners to maintain gloss and prevent damage.
With meticulous finishing, your countertop will provide a luxurious ambiance and outstanding durability, aligning with our expertise in high-end projects.
What Are Common Mistakes to Avoid When Learning how to install countertops on a kitchen island?
- Ignoring precise measurements and templates, leading to misfitting countertops.
- Using inconsistent or low-quality adhesives, which compromise durability.
- Failing to support the material adequately during installation, risking cracks or shifting.
- Overlooking proper sealing and finishing, resulting in stains and deterioration over time.
- Rushing the curing process—patience is critical for a flawless final appearance.
Frequently Asked Questions (FAQs)
The duration varies depending on material type, size, and complexity but generally ranges from 1 to 3 days, including measuring, cutting, installing, and finishing.
While DIY installation is feasible for experienced homeowners with appropriate tools, hiring professionals ensures precise fitting, safety, and a high-quality result. At BCG CABINET & STONE LLC, our experts specialize in seamless countertop installations tailored to your kitchen design.
Factors such as durability, aesthetic appeal, maintenance requirements, and budget influence your choice. For luxury designs, materials like onyx offer a distinctive look, whereas budget-friendly options like Formica can provide practicality without sacrificing style.
Conclusion: Elevate Your Kitchen with Expert-Installed Countertops
Knowing how to install countertops on a kitchen island is fundamental to achieving a stunning and functional kitchen renovation. Proper measurement, careful cutting, secure support, and sealing are the cornerstones of a successful installation. Whether you’re considering high-end materials like granite, marble, or luxurious onyx, or exploring cost-effective options, precision and attention to detail make all the difference. Trust BCG CABINET & STONE LLC to bring expertise and quality craftsmanship to your project, ensuring your new kitchen countertops stand the test of time.